
How to Publish Shopify Blog Posts to Pinterest (2026)
Turn on blog pins in PinFlow, pick which posts get pins and how often, and your next batch of Pinterest pins mixes blog posts in with product pins.
By AjayCodeWiz · November 14, 2026 · 6 min read
How do you publish Shopify blog posts to Pinterest?
In the PinFlow app, open Products, then the Blog posts tab, and tick Make pins from blog posts. Choose how many of your pins come from blog posts, pick the posts, and click Save. The next batch of pins then mixes blog pins in with your product pins, each linking to the post on your own store.
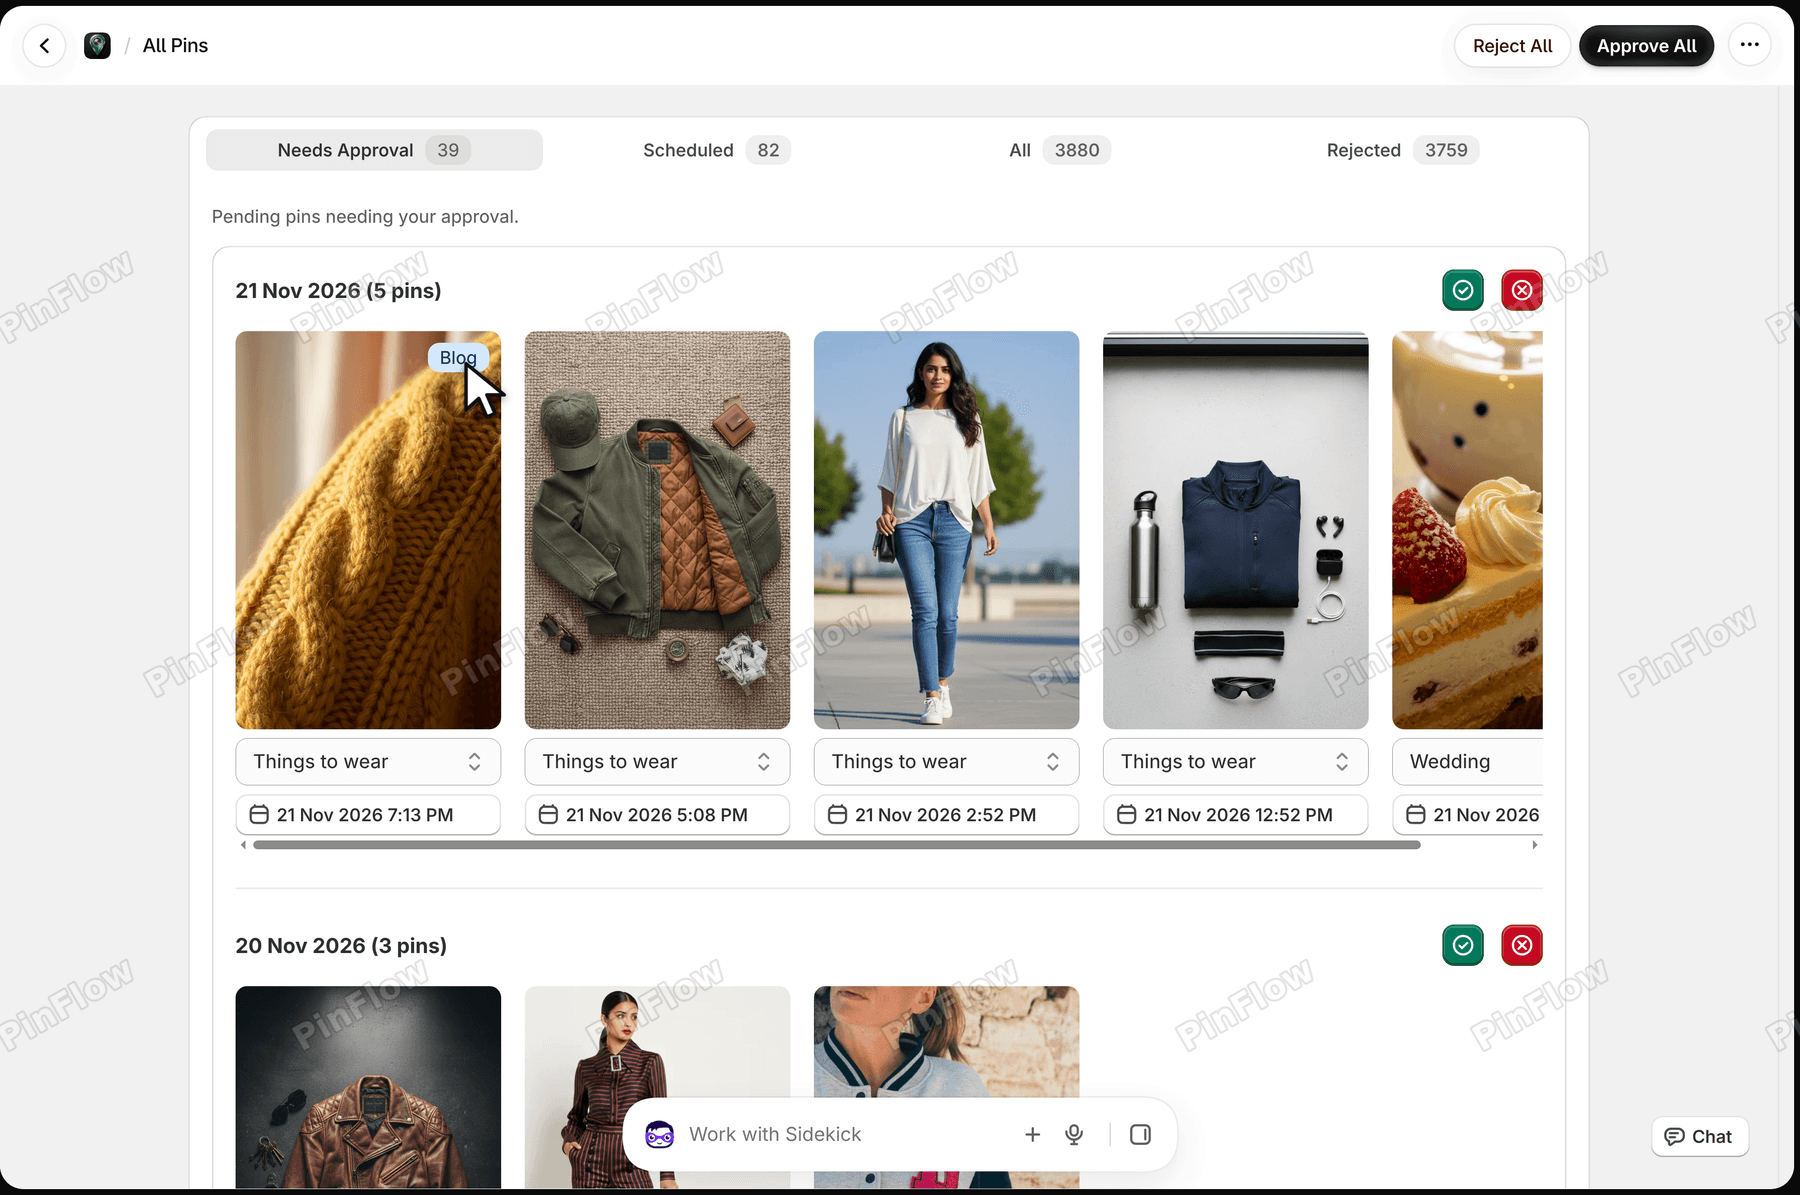 Pinterest calendar with a Needs Approval tab and a blue Blog badge on the first pin of 21 Nov 2026
The steps follow the video, filmed on a live store on 14 November 2026. Blog pins arrive as Needs approval, like product pins, so nothing posts to Pinterest until you approve it. Shopify's help page on writing blog posts covers the posts themselves.
Step 1: Open the Blog posts tab
In the PinFlow app, click Products in the left menu. It has two tabs, Products and Blog posts. The Blog posts tab shows once your store has a published blog post. Open it.
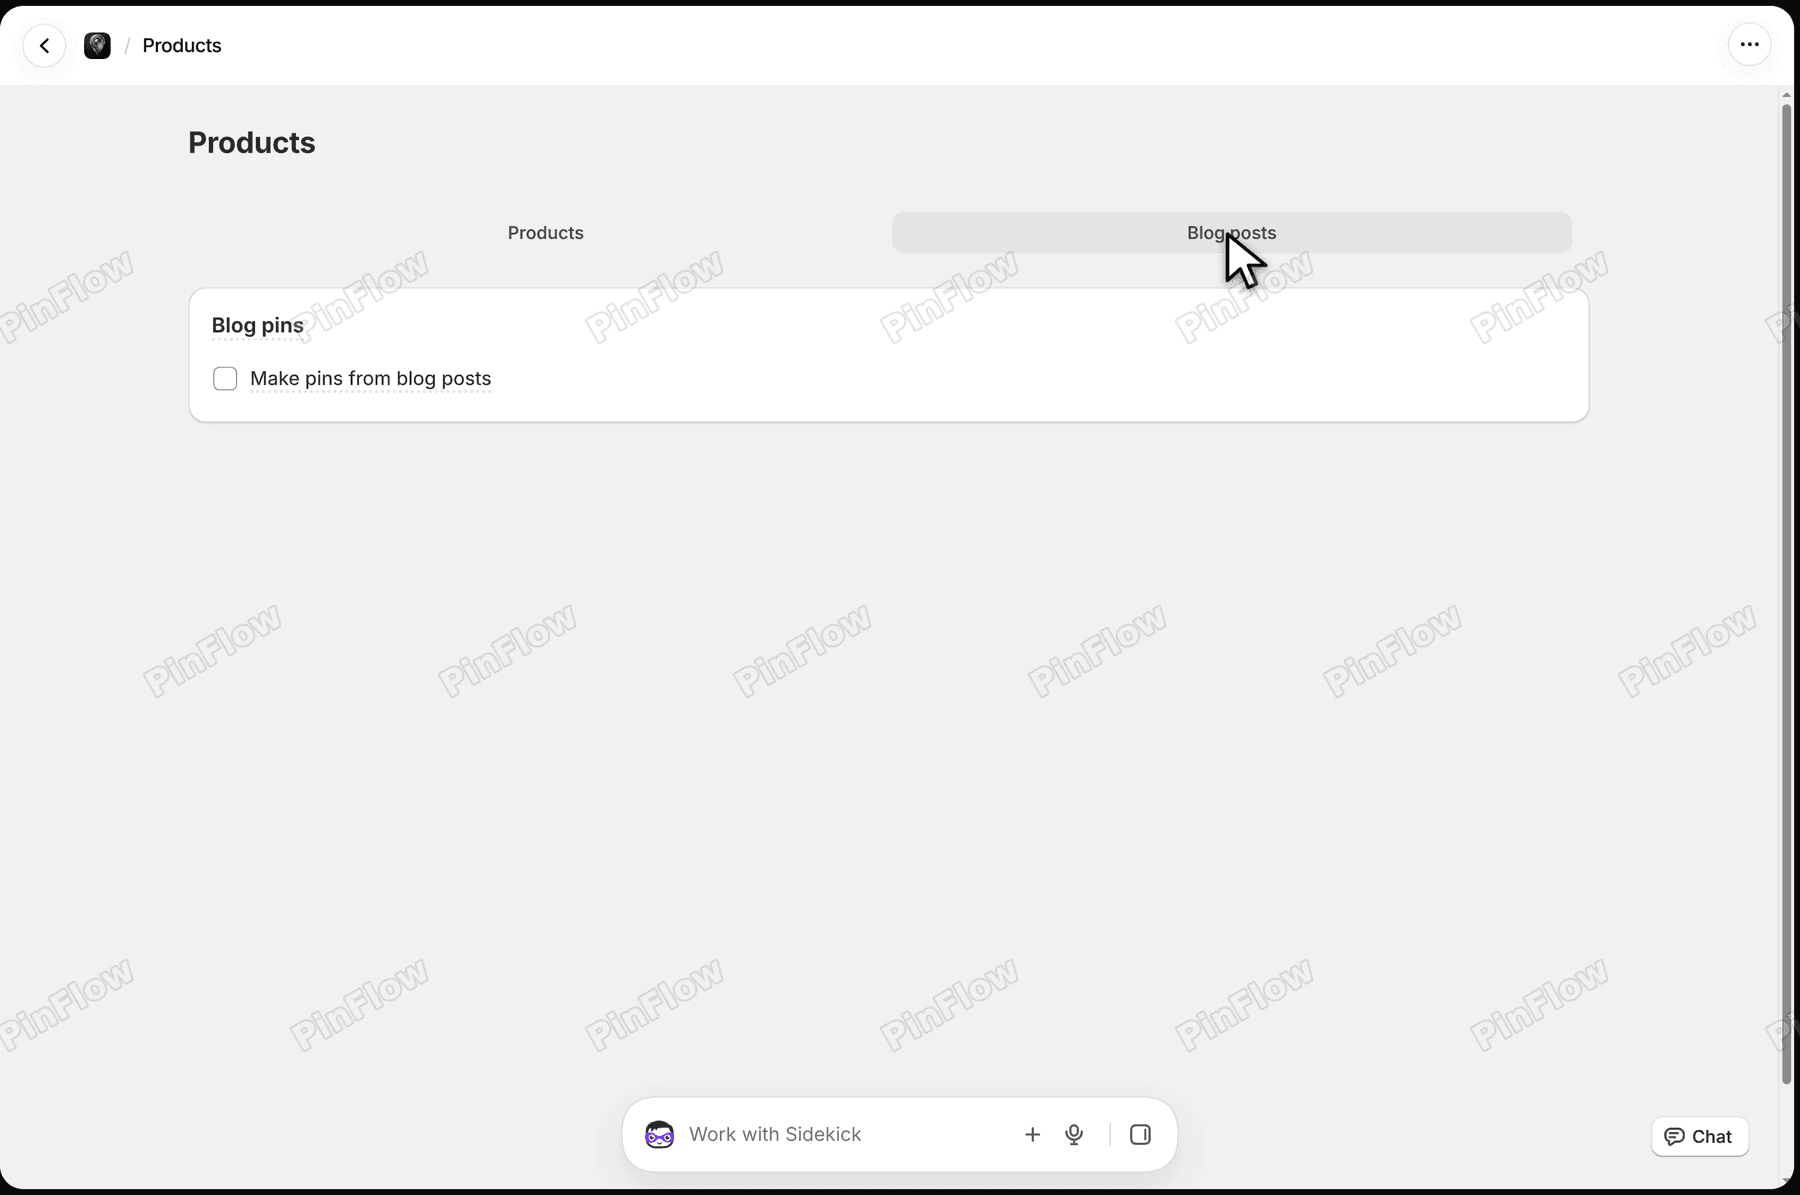 Products page in PinFlow with the Blog posts tab open and a Blog pins card with one unticked box, Make pins from blog posts
Step 2: Turn on blog pins and choose how many
Tick Make pins from blog posts. The first time, Shopify asks you to let the app read your blog posts, so click Allow. A Blog pins list and a Use all published posts box then appear, and a save bar shows at the top.
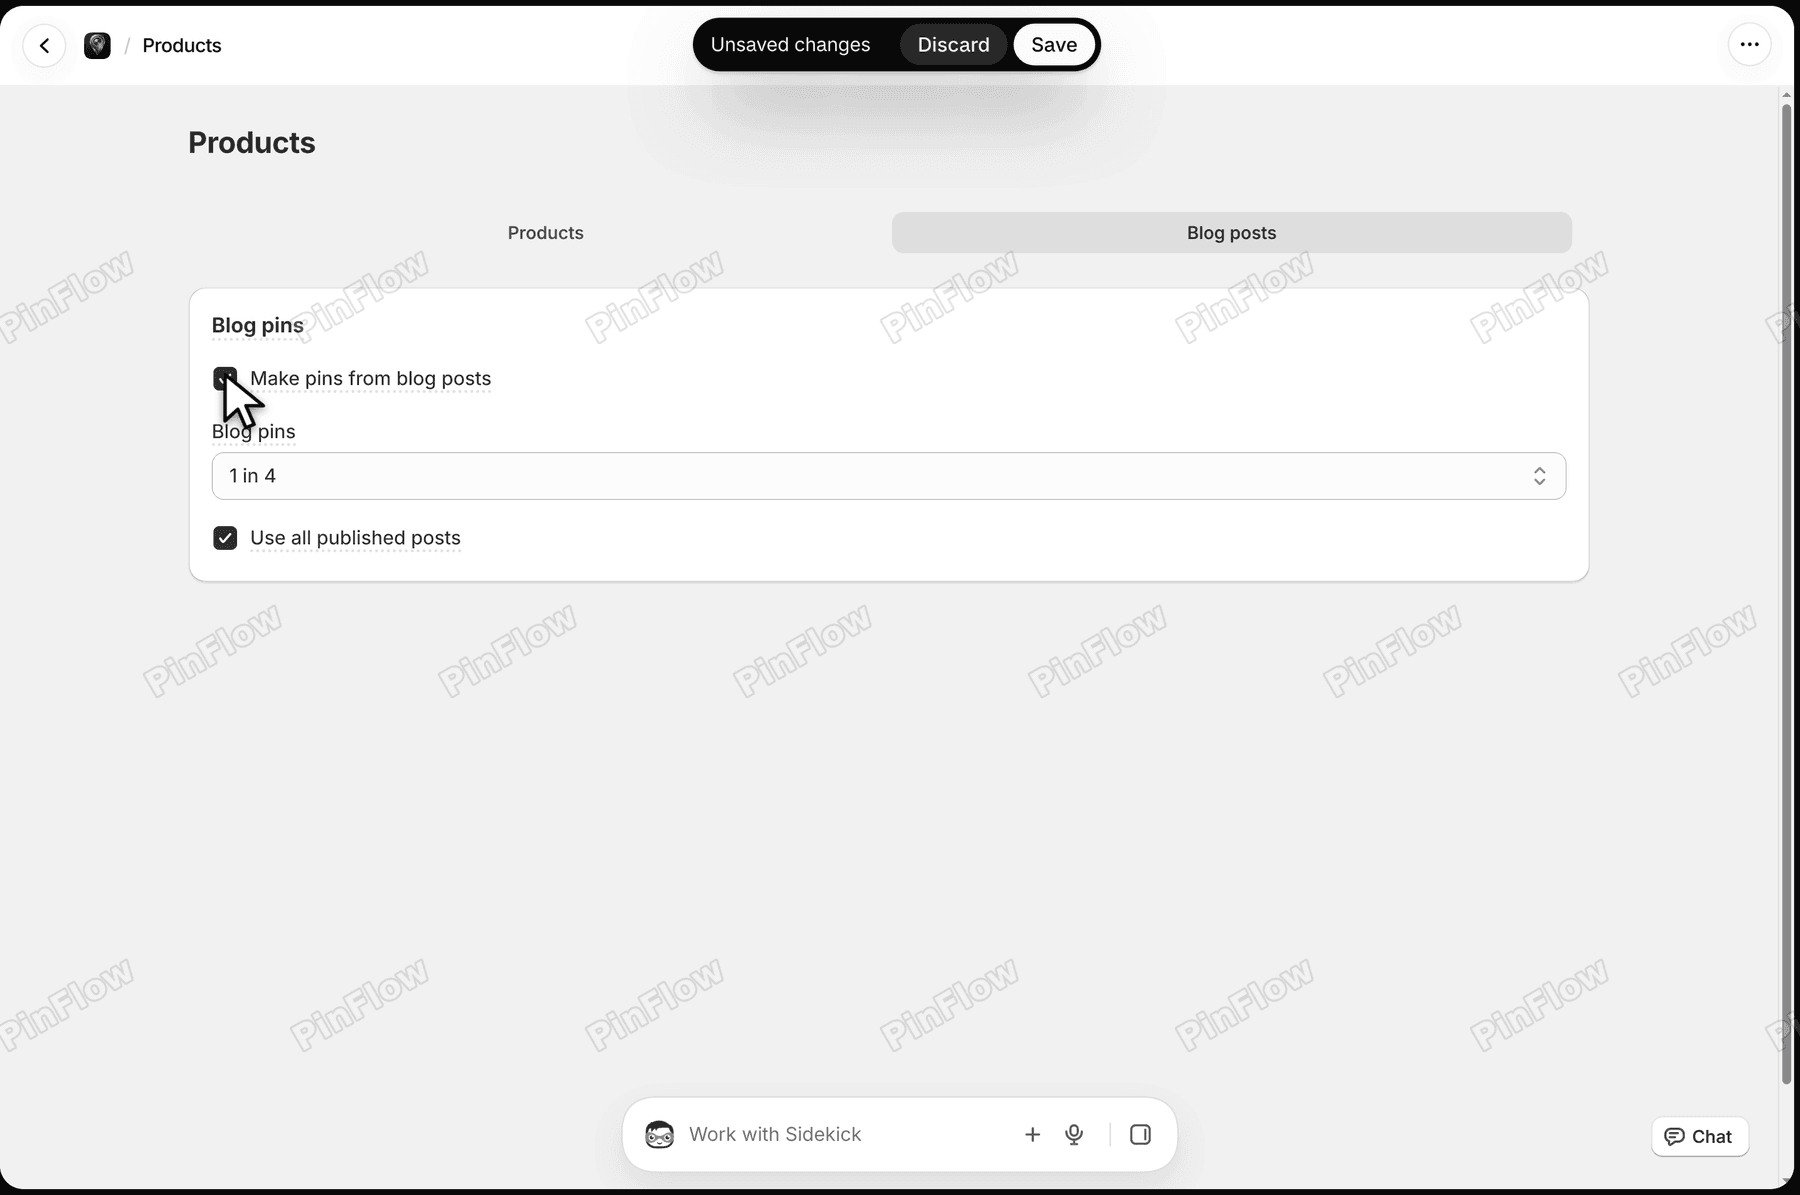 Blog pins card with Make pins from blog posts ticked, the Blog pins list set to 1 in 4 and Use all published posts ticked
Open the Blog pins list to choose how many of your pins come from blog posts. The choices are 1 in 5, 1 in 4, 1 in 3, 1 in 2 and All pins, and 1 in 4 is the default. Your number of pins per day stays the same: blog pins take the place of some product pins. The video leaves it at 1 in 4.
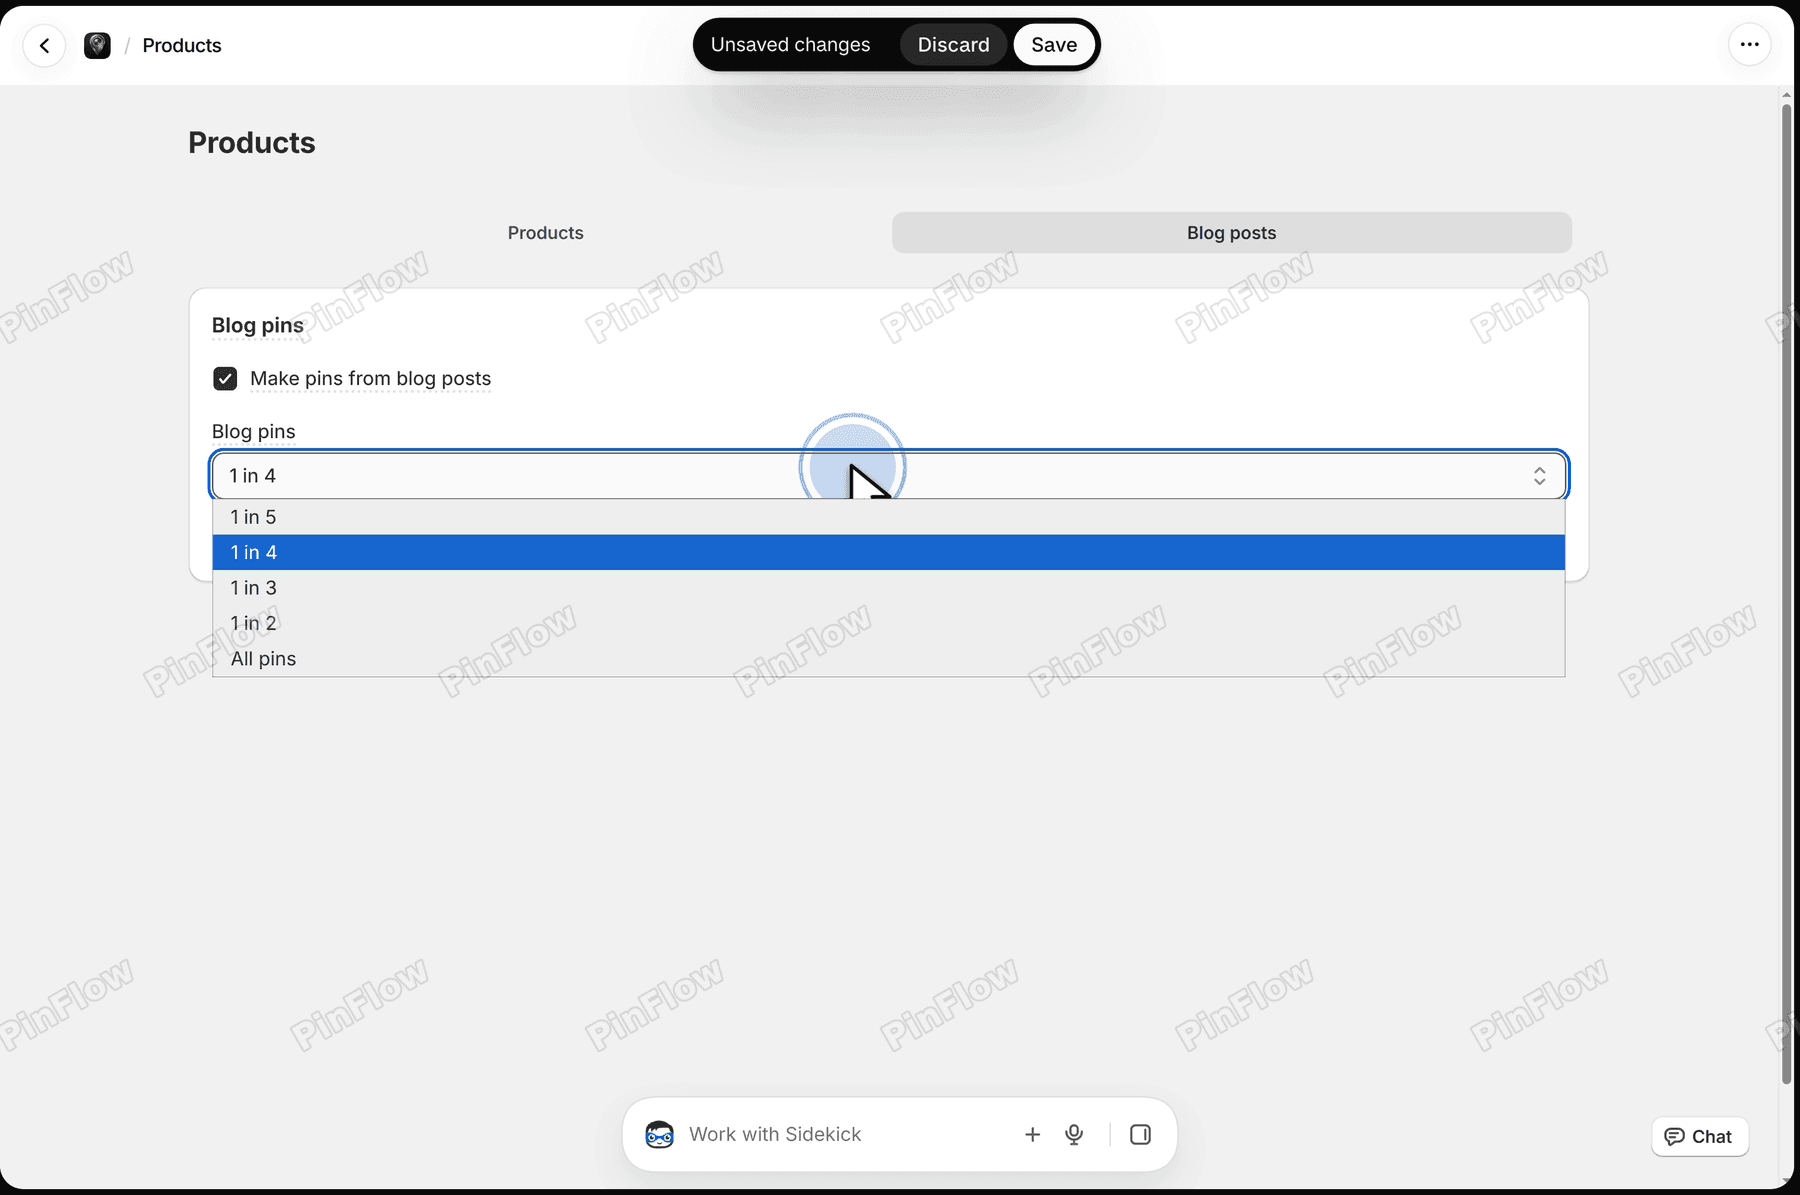 Blog pins list open showing the choices 1 in 5, 1 in 4, 1 in 3, 1 in 2 and All pins, with 1 in 4 highlighted
Step 3: Pick which posts get pins
Use all published posts is ticked by default, so a new post is included once you publish it. To choose posts yourself, untick it. A table appears with each post's title, blog and publish date, a tick box per row, and a line under the box that reads 0 posts selected.
A post with no image shows No image, skipped under its title. Blog pins use images stored on Shopify, so add an image to that post first if you want it pinned.
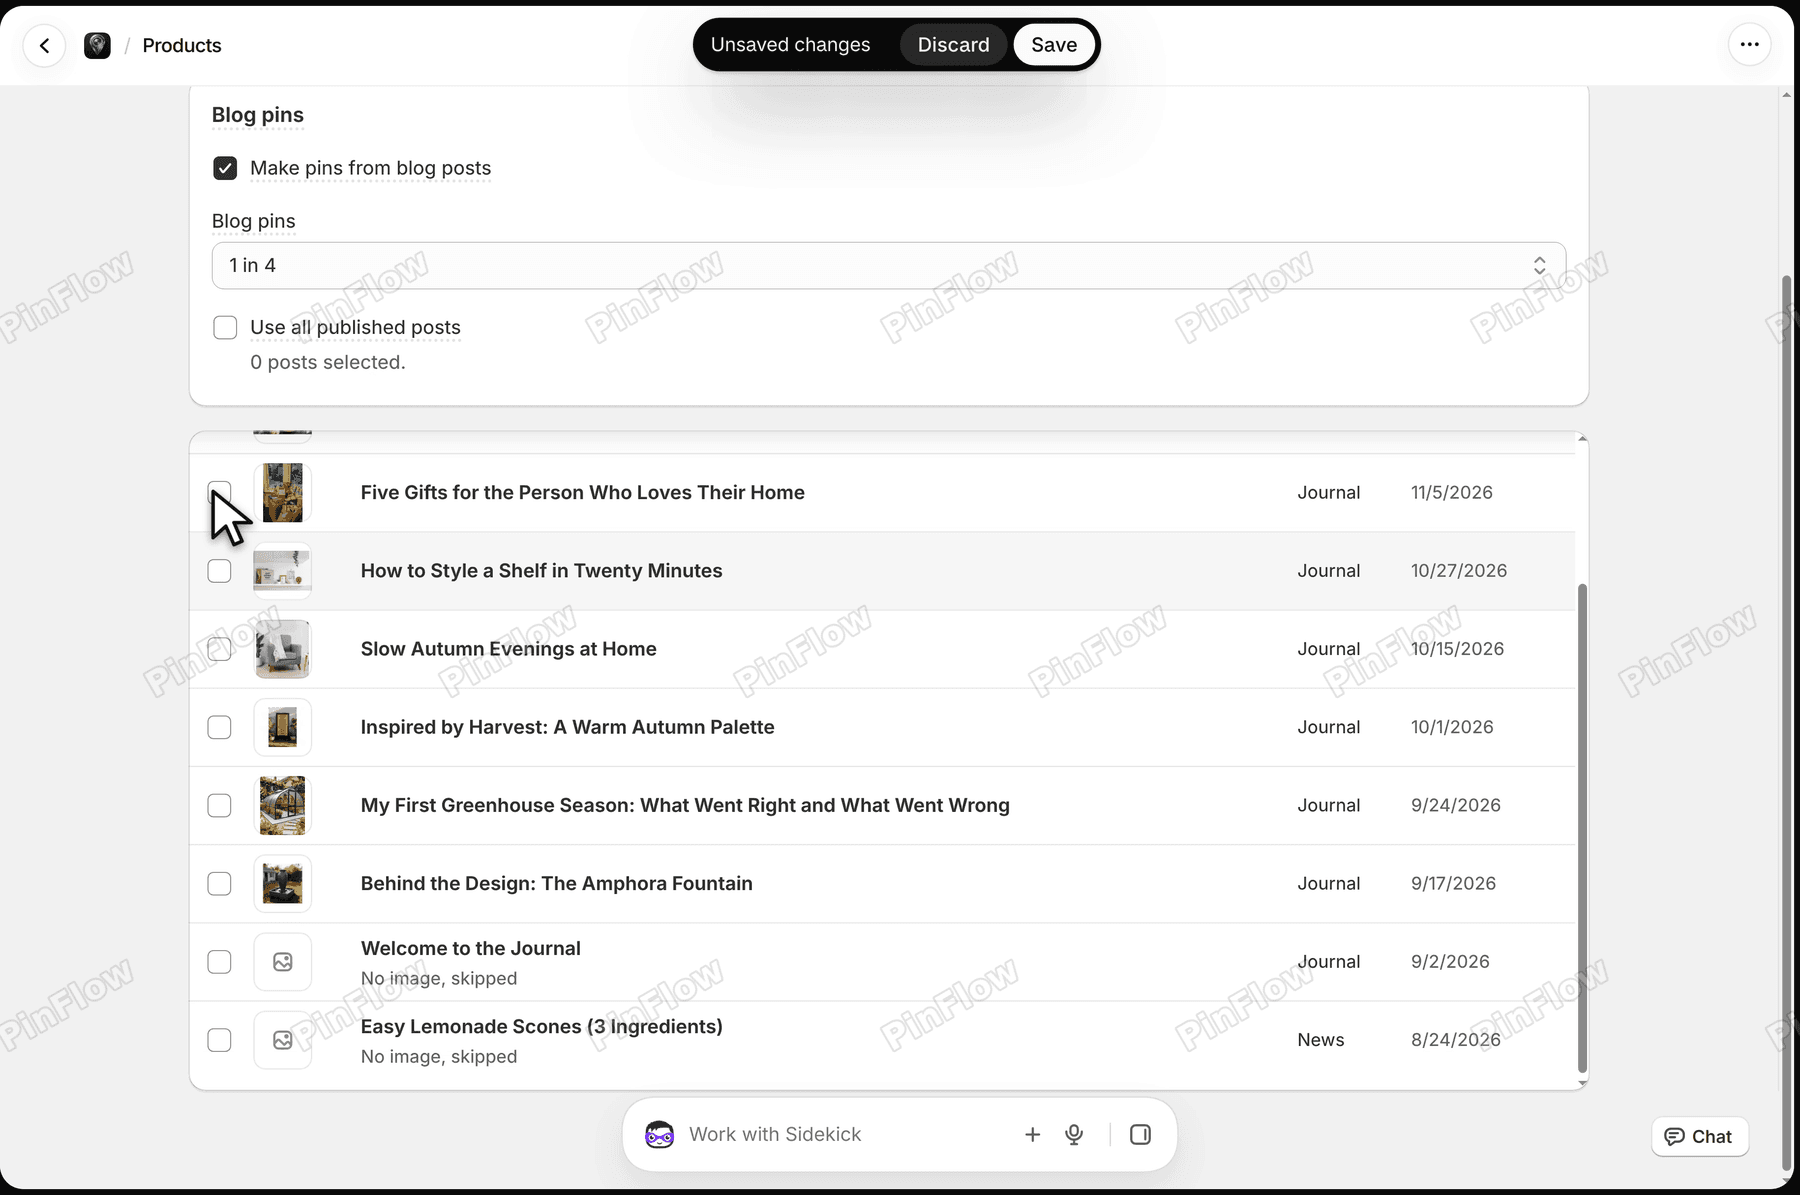 Table of blog posts with tick boxes, publish dates and the line 0 posts selected, with two posts marked No image, skipped
Tick the posts you want. The video picks four, and the line under the box updates to 4 posts selected.
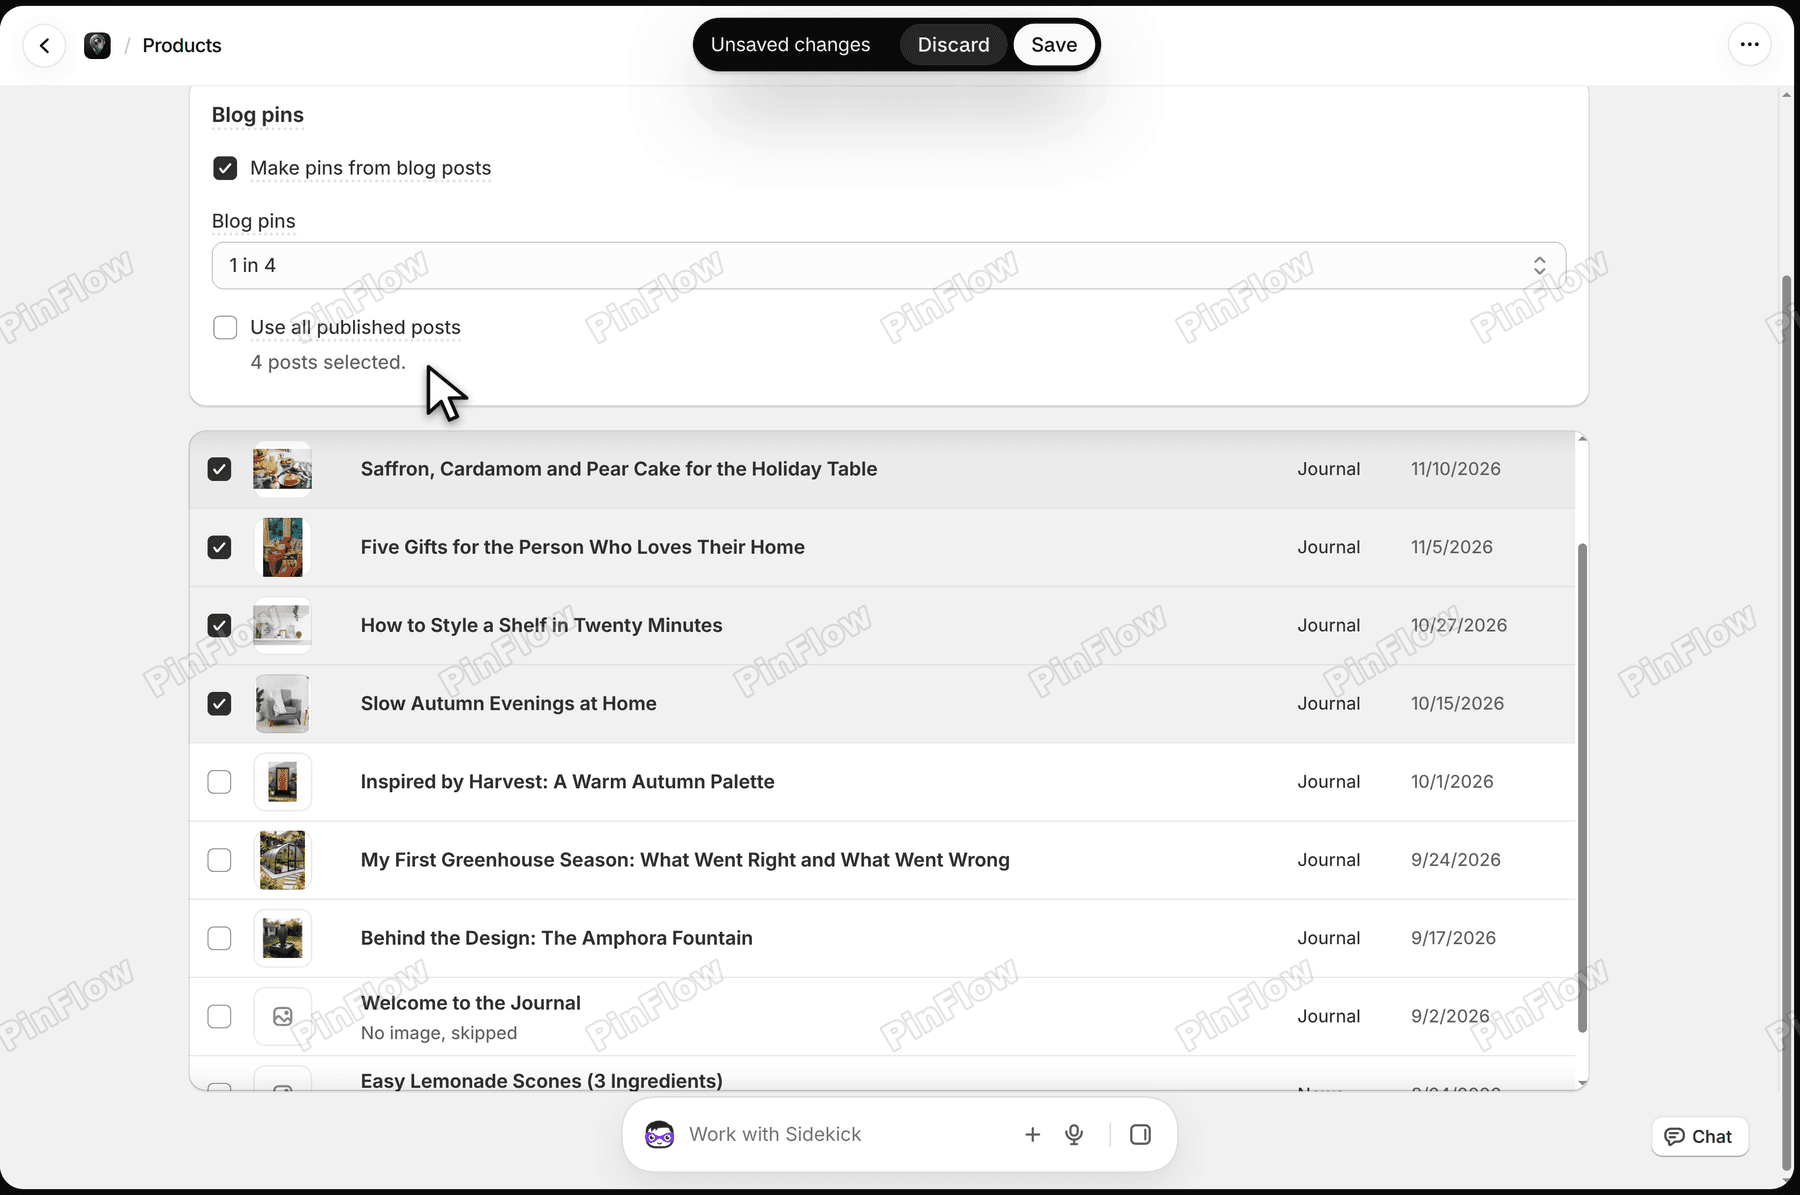 Four blog posts ticked in the table, with the line 4 posts selected under Use all published posts
Step 4: Save
Click Save in the bar at the top. The bar goes away and the four picks stay ticked.
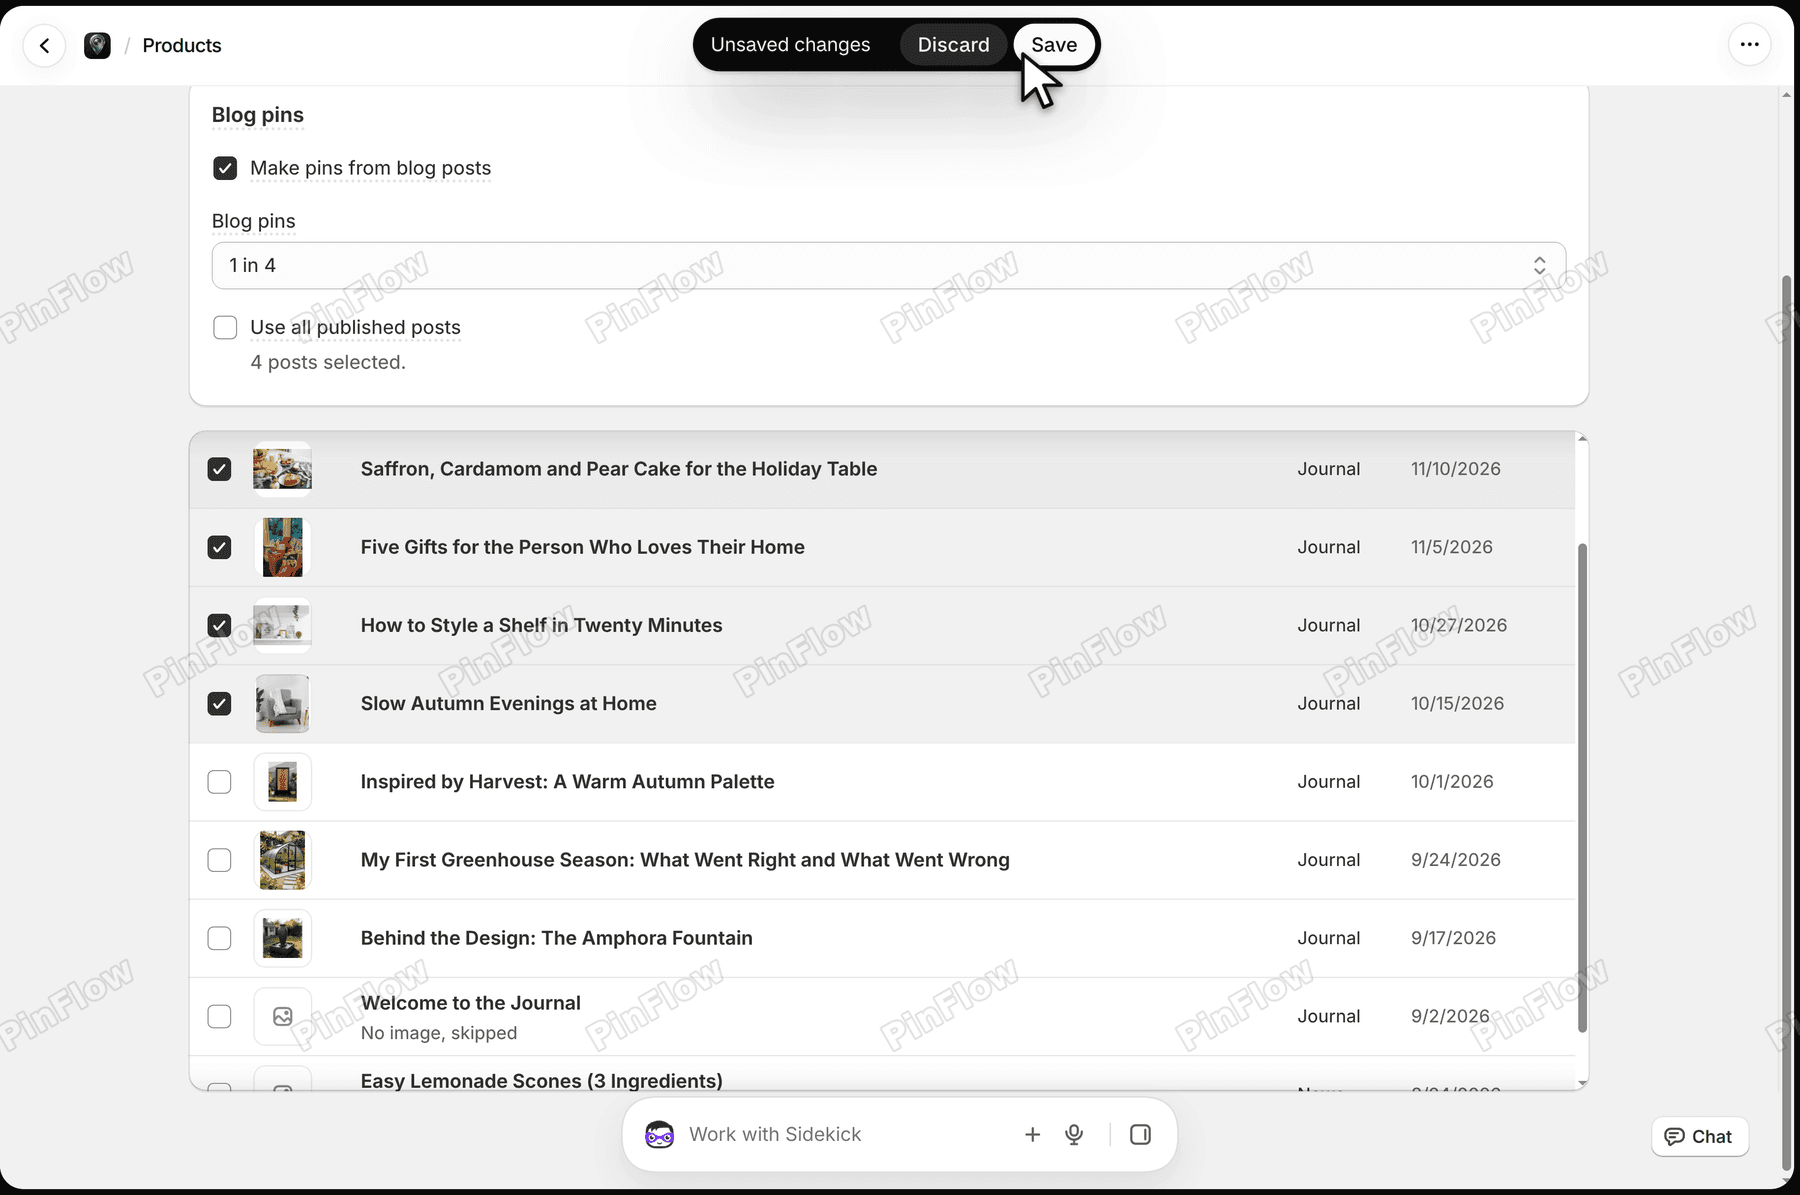 Save button in the Unsaved changes bar at the top of the Products page
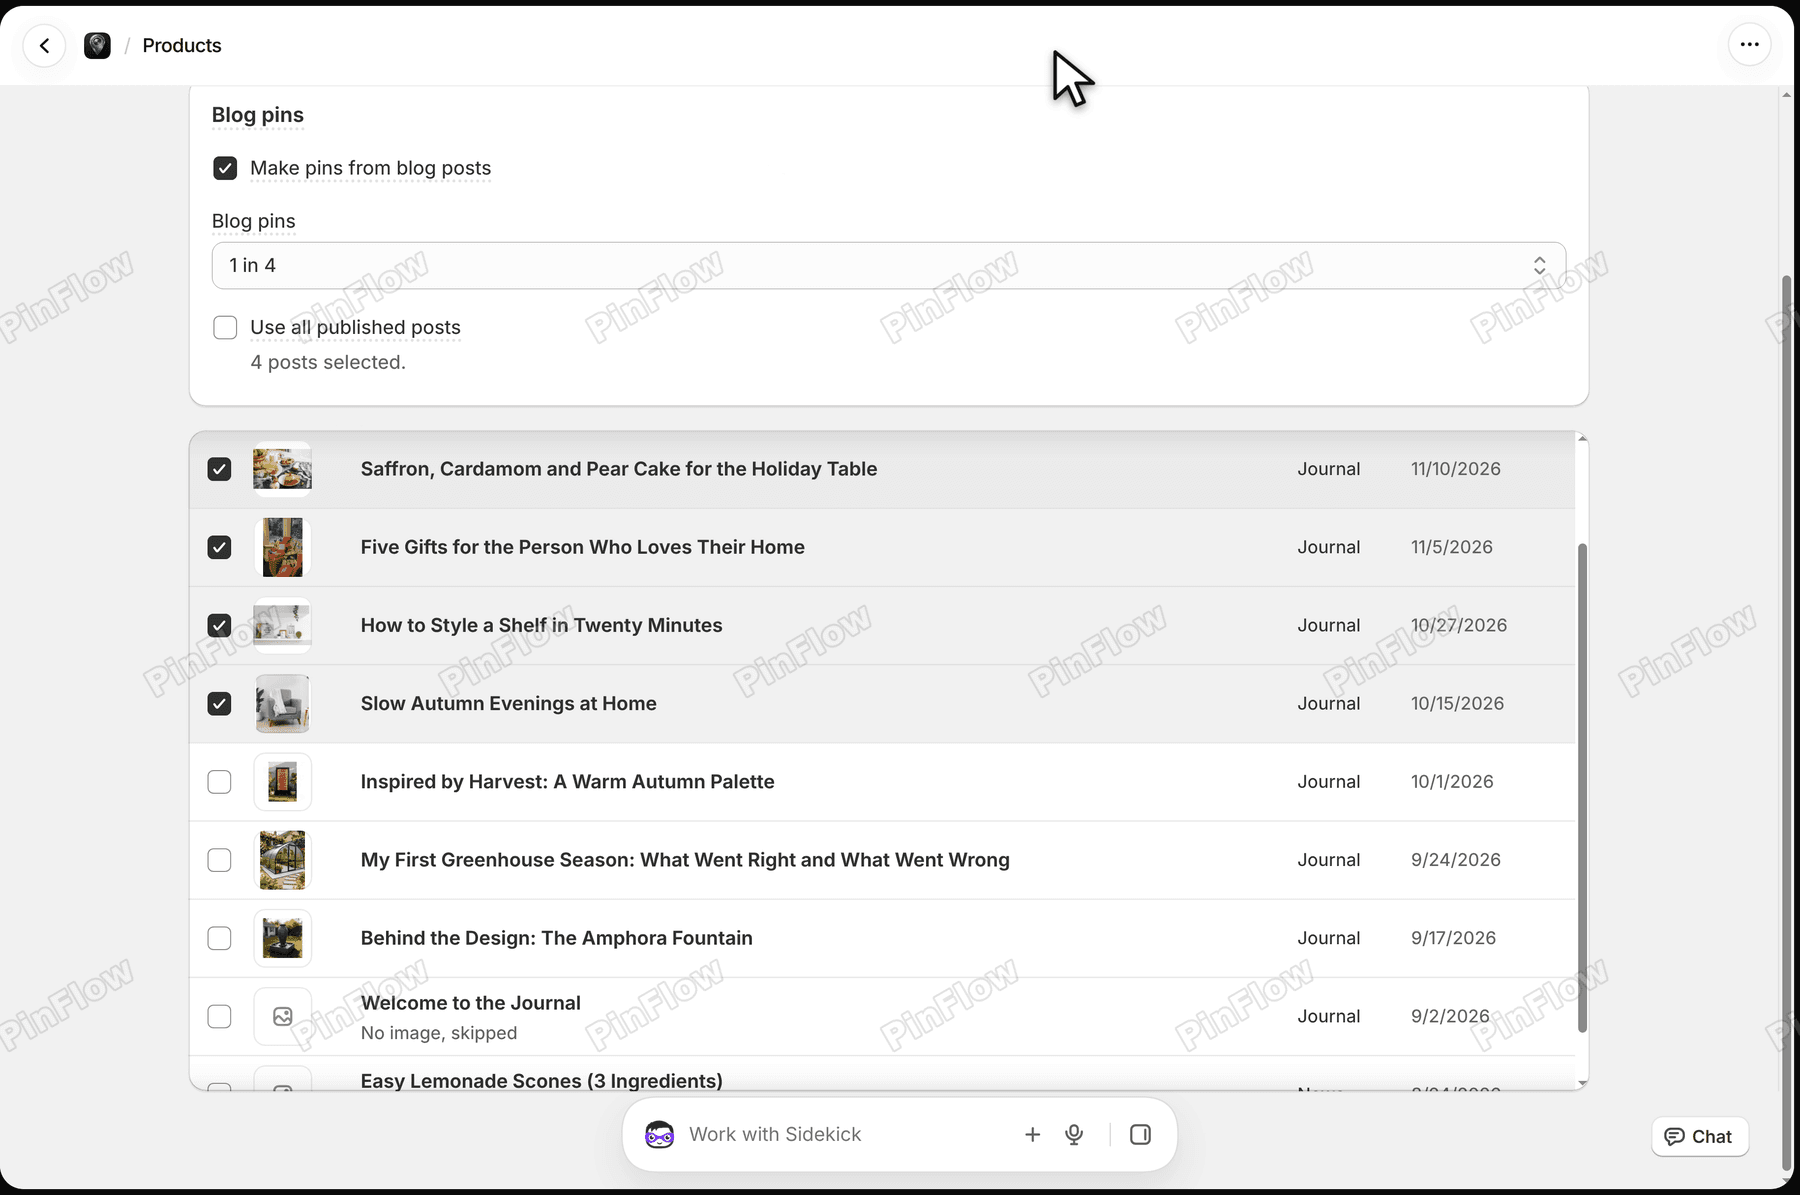 Blog posts tab after saving with the save bar gone and 4 posts selected
Saving posts nothing to Pinterest on its own. Blog pins come with your next batch of pins.
Step 5: Make the pins with Generate Next 7 Days
Blog pins come with the next batch, which you can start yourself. On the app's Home page, click Generate Next 7 Days. The number is your scheduling window, and it is 7 days on the store in this video. The line above the button says how far your pins are already generated, here until 05 Sep 2026.
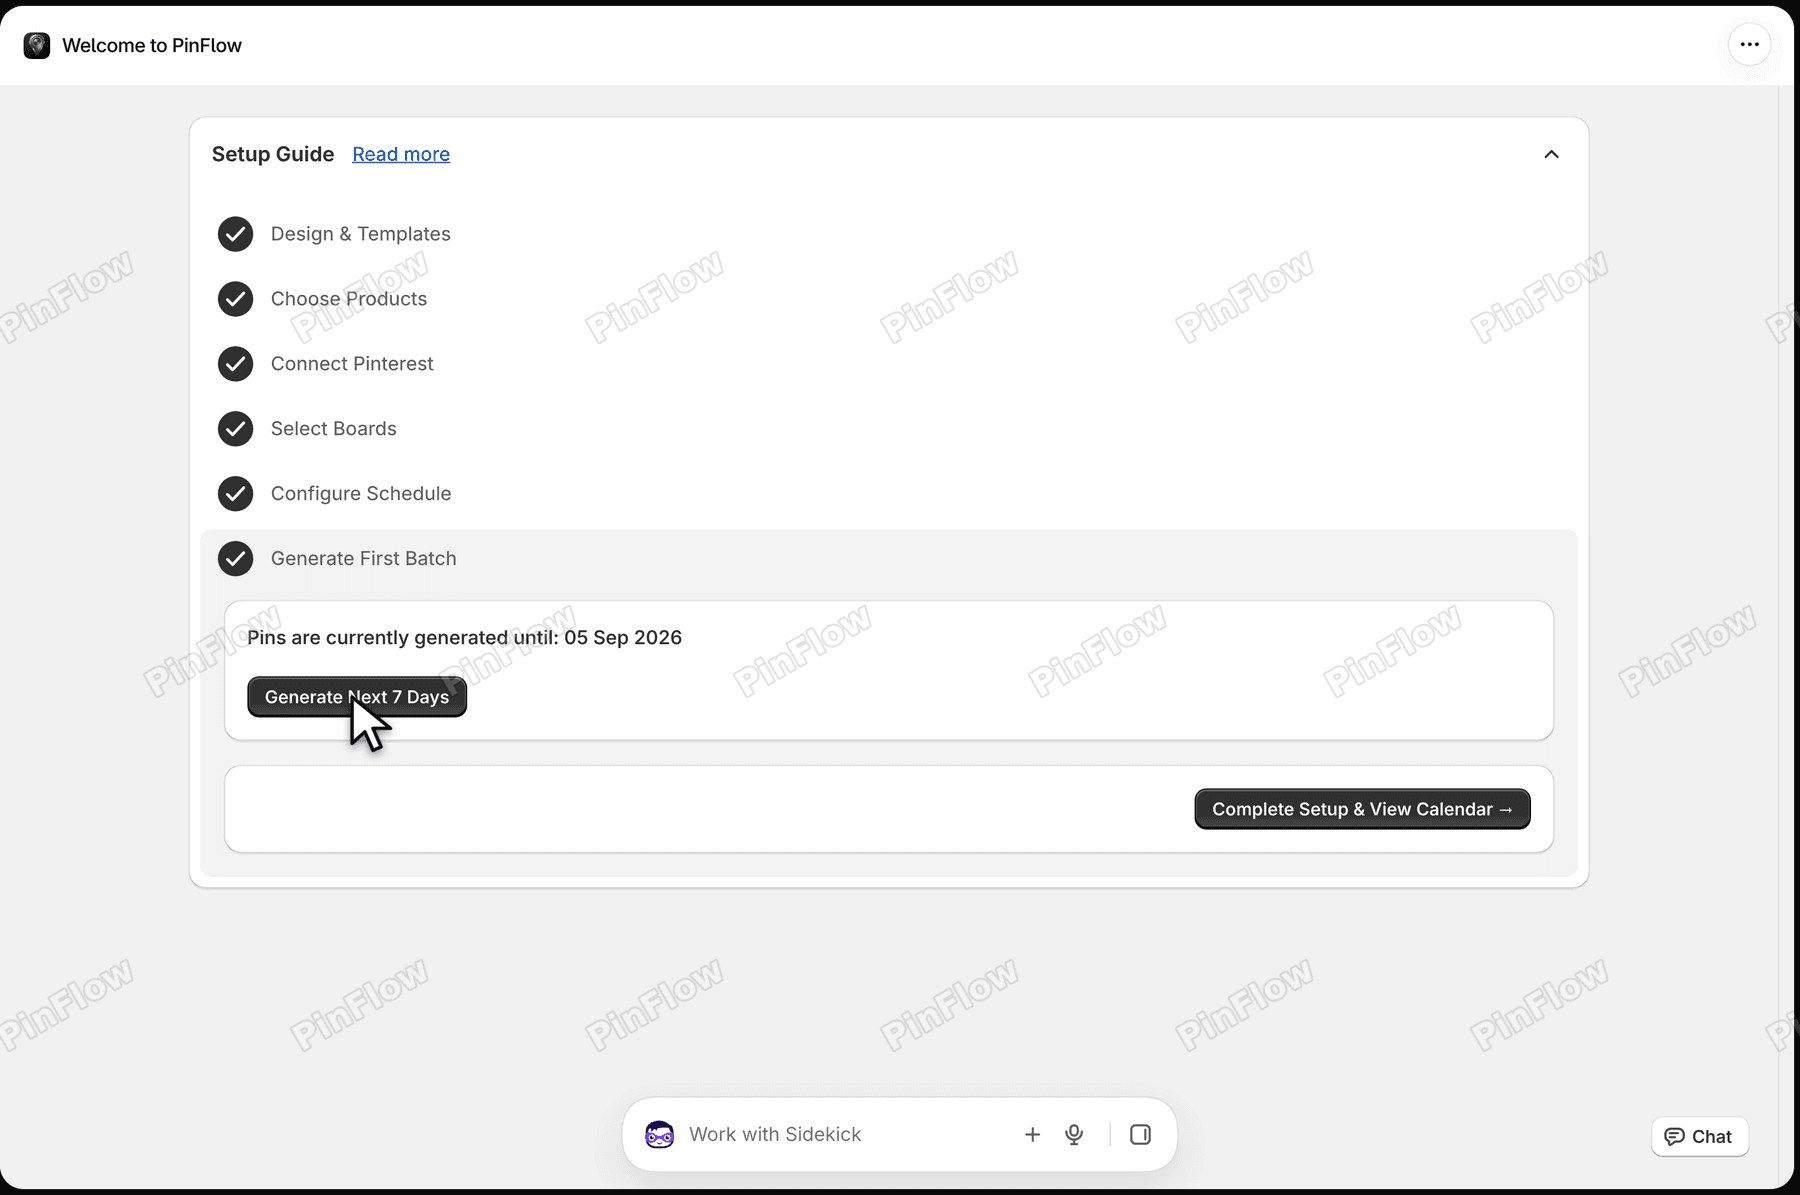 Home page Setup Guide with the Generate Next 7 Days button under Pins are currently generated until 05 Sep 2026
A progress bar counts the pins, here 39 in all for the 7 days.
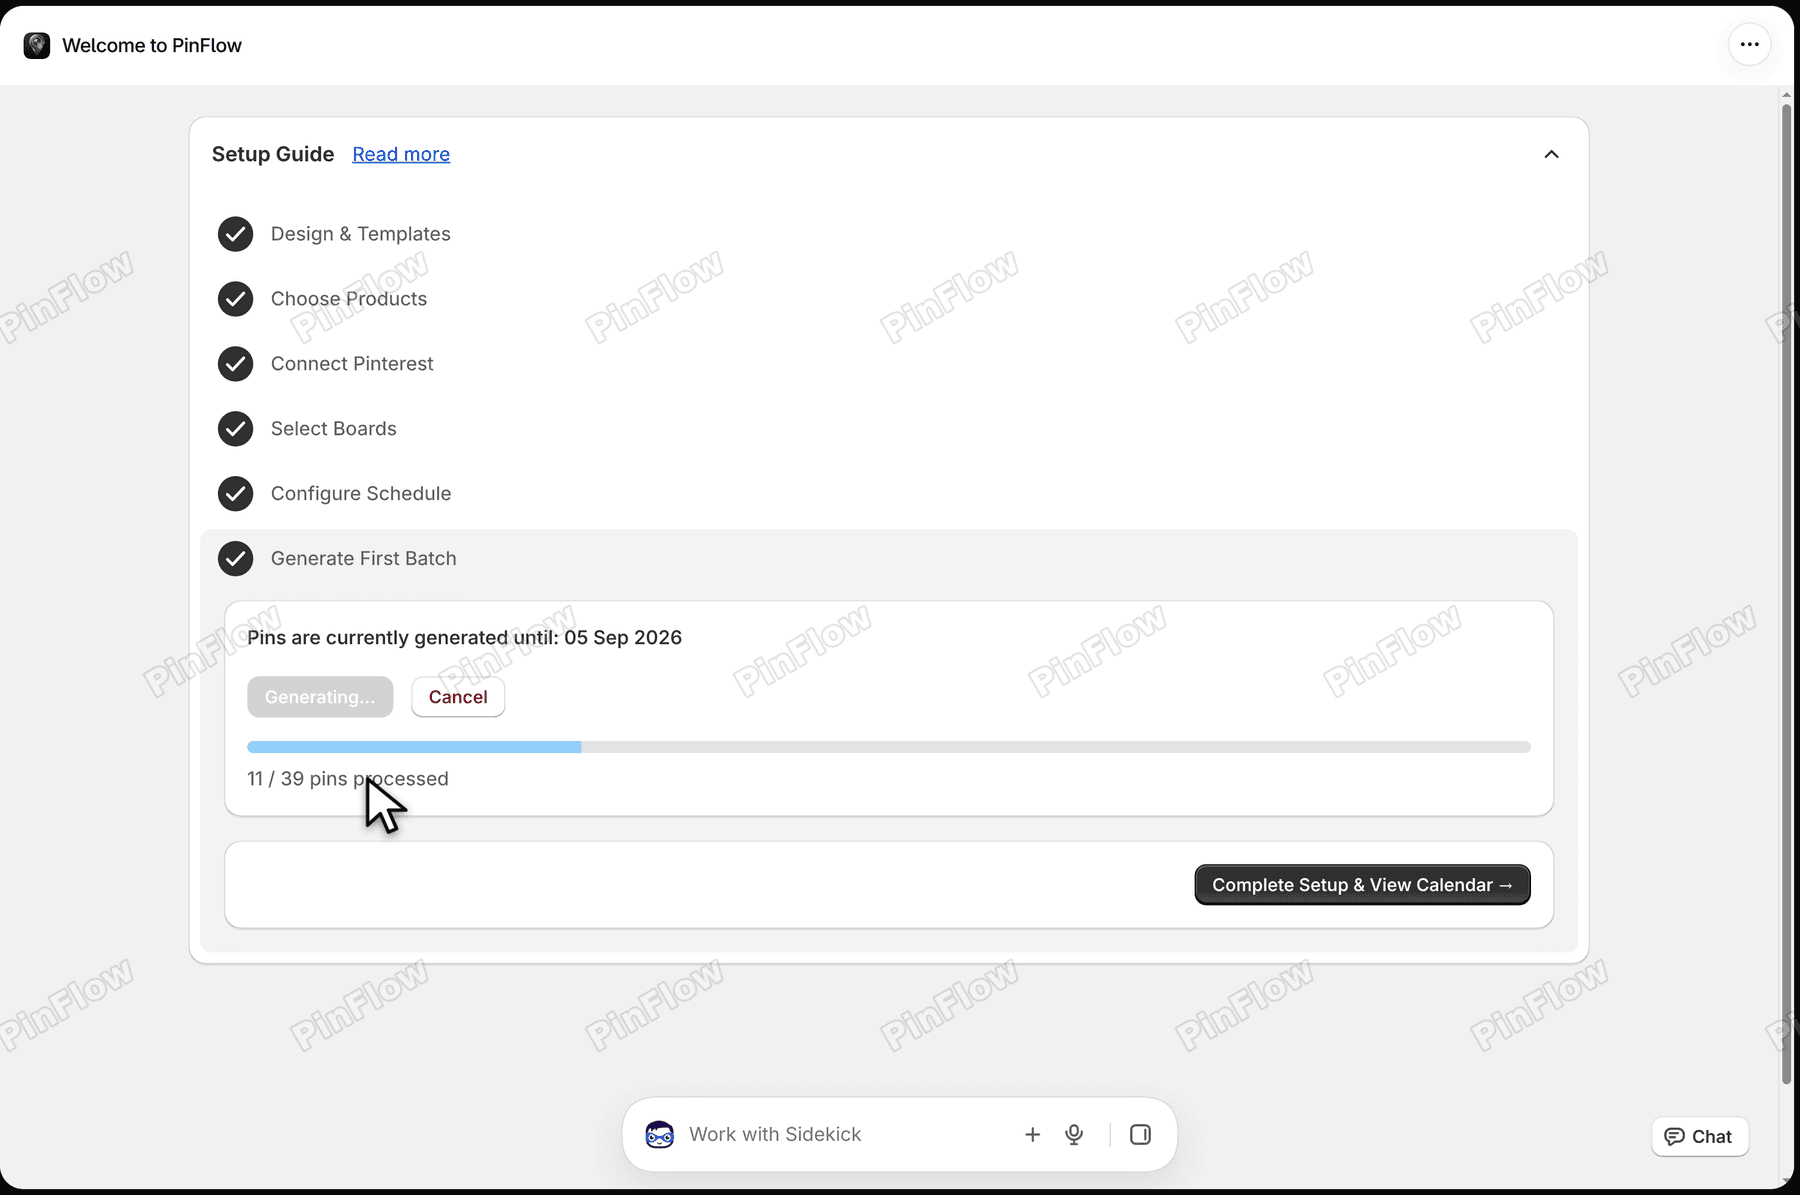 Generate First Batch step with a progress bar and the count 11 / 39 pins processed
When it finishes, a message says 39 pins added to your calendar and the date moves on to 21 Nov 2026.
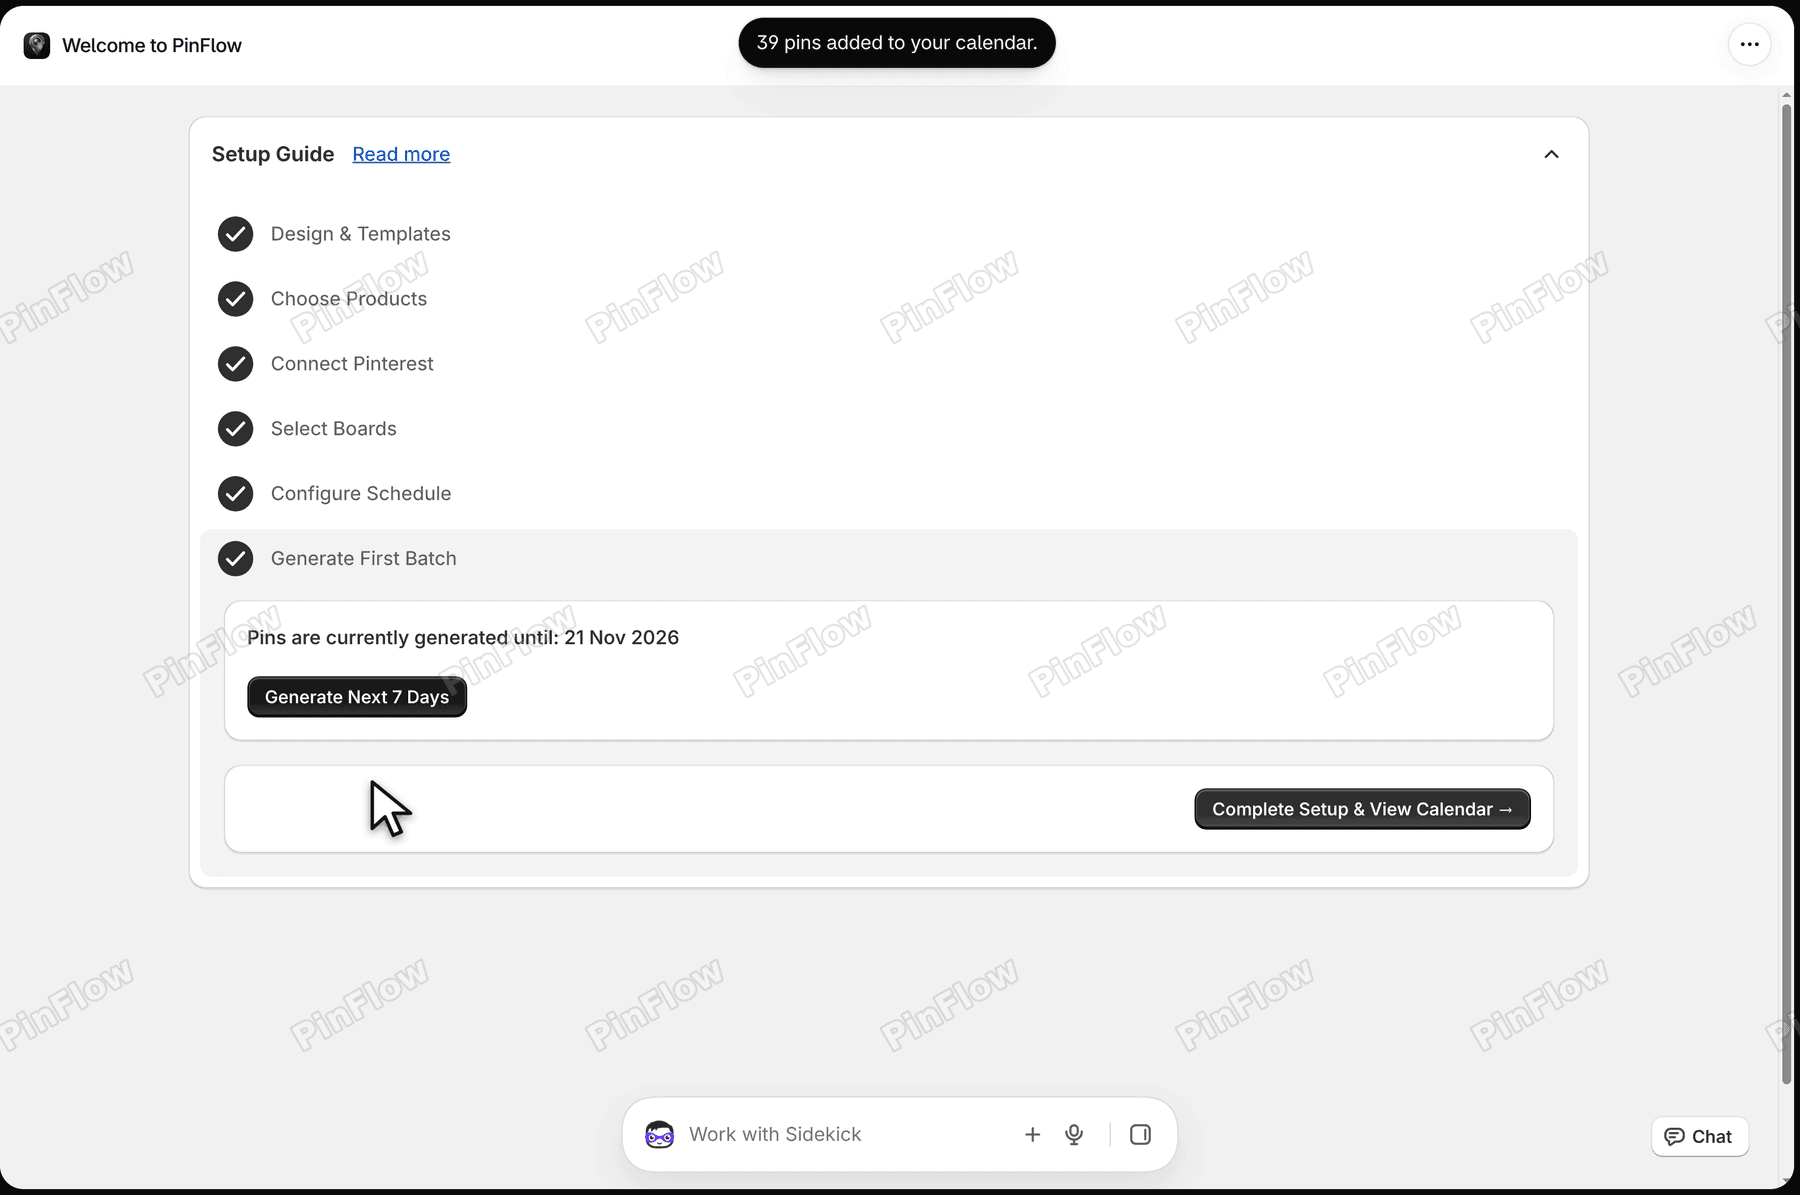 Home page with the message 39 pins added to your calendar and Pins are currently generated until 21 Nov 2026
Step 6: Find the blog pins in the Calendar
Open Calendar in the PinFlow menu and click the Needs Approval tab. Every pin in the batch is waiting there for you, 39 on this store. A blog pin carries a blue Blog badge on its picture, so you can tell it from the product pins next to it.
Calendar with the Needs Approval tab open and a blue Blog badge on the first pin of 21 Nov 2026
Step 7: Look inside a blog pin
Click a blog pin to open Pin Details. The Pinterest Title and Description are written by AI from the post, in the tone you chose for your store.
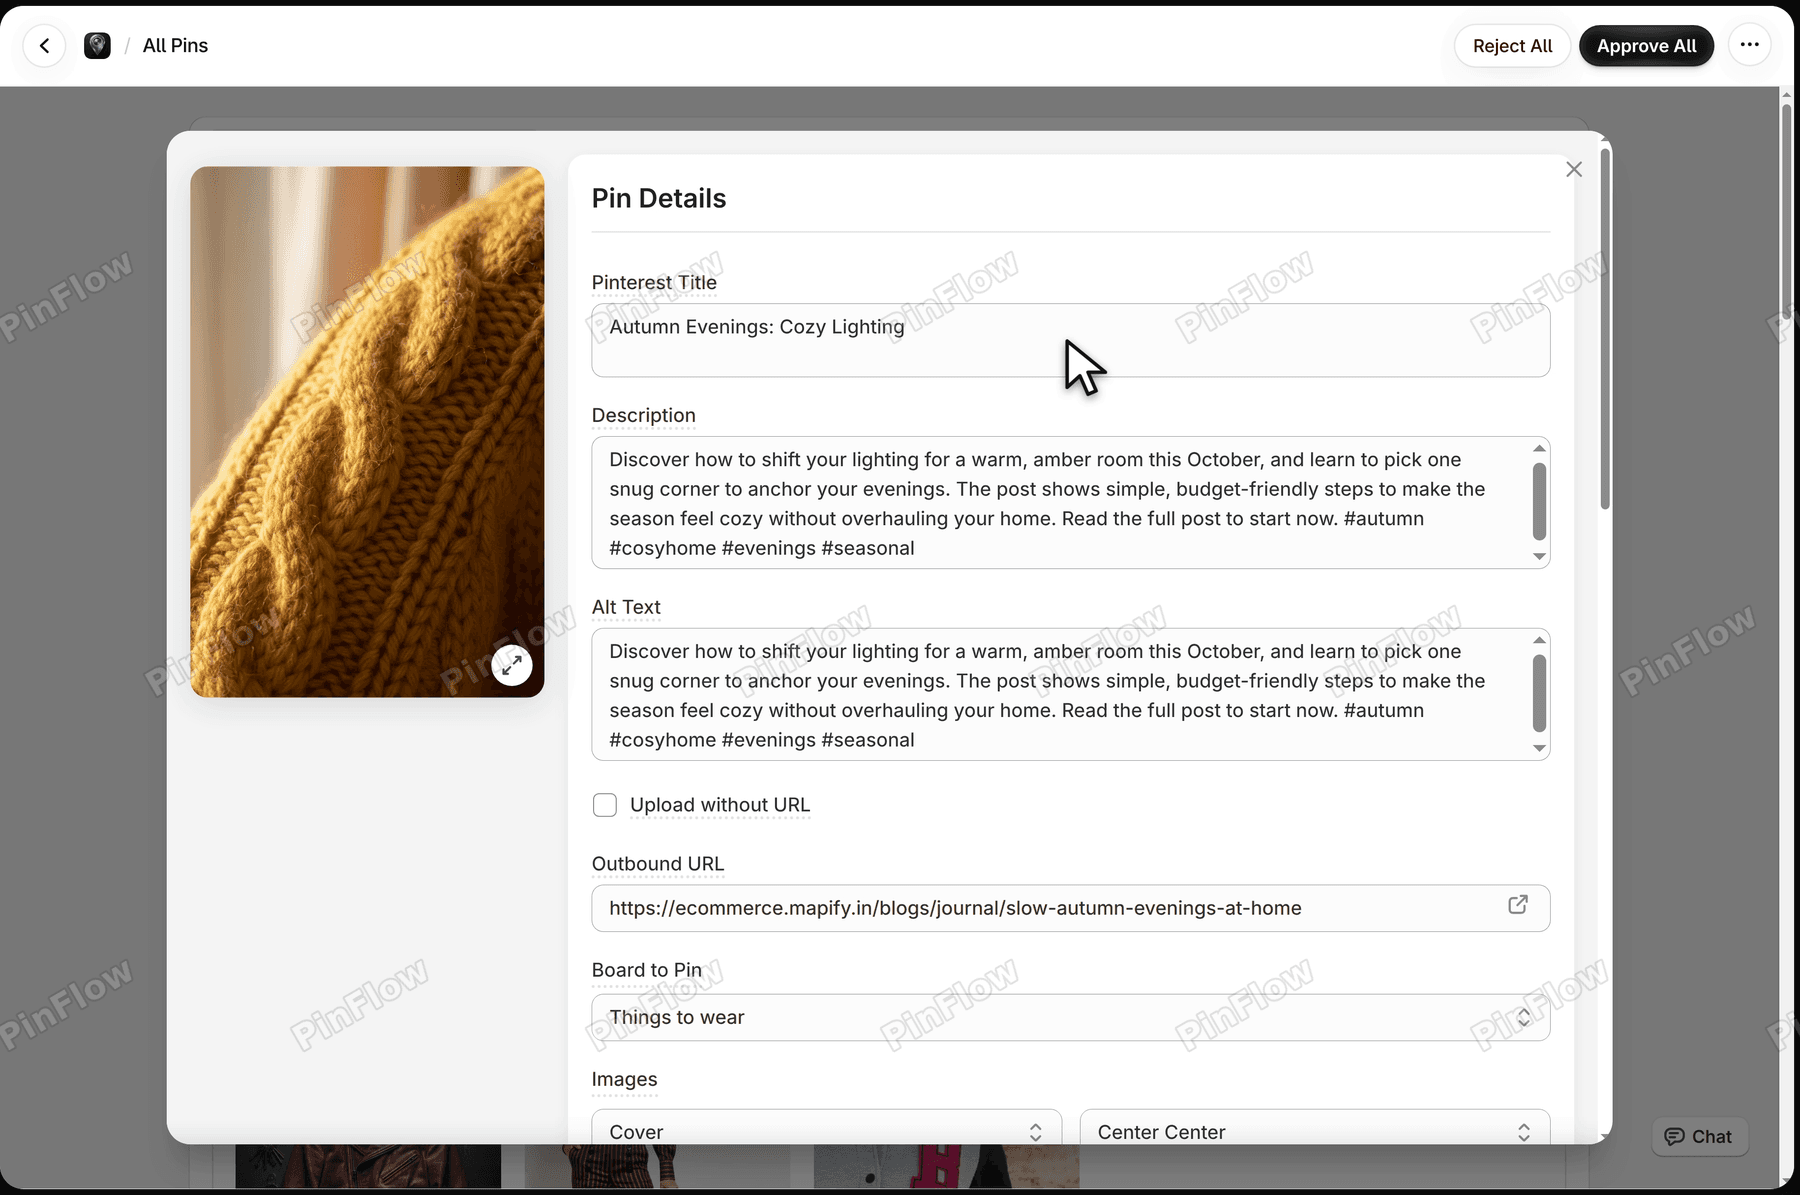 Pin Details window for a blog pin with the Pinterest Title Autumn Evenings: Cozy Lighting and a written description
The Outbound URL is the link on the pin. It goes to the blog post on your own store's domain, in the form yourstore.com/blogs/blog-name/post-name, so a visitor who clicks the pin lands on your post.
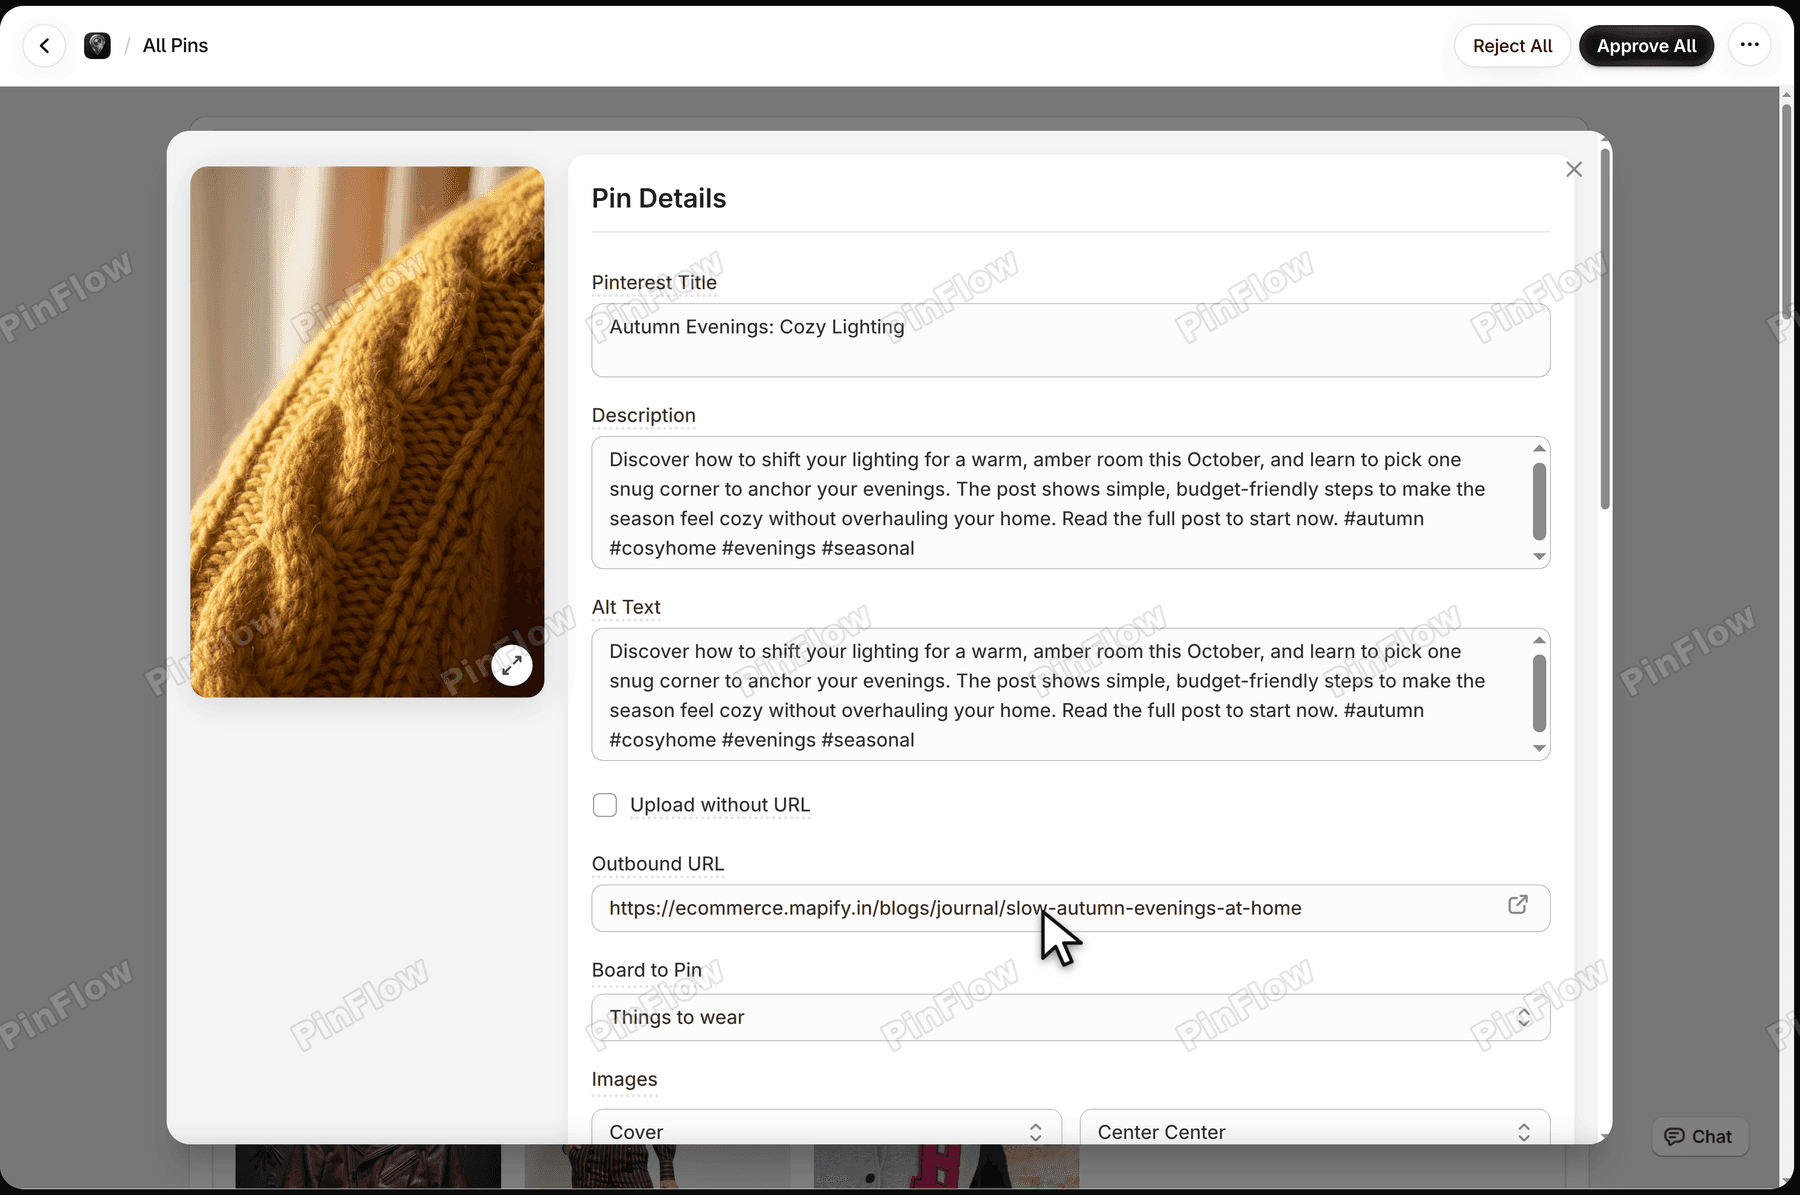 Pin Details window with the Outbound URL field showing a link to a blog post on the store's domain
On this store the picture on the pin was a product photo from the store's files, not a photo from the post, so look at the picture on each blog pin before you approve it.
What blog pins do and do not change
- Blog pins take the place of some of your daily product pins, so the total per day stays the same.
- Turning blog pins on posts nothing right away. They arrive with your next batch, as Needs approval.
Blog posts tab after saving, with the save bar gone and 4 posts selected
- A post needs an image stored on Shopify, and up to 10 are used per post. A post with no image is skipped, and so are images hosted elsewhere, such as YouTube embeds.
Table of blog posts with two posts marked No image, skipped
- Pin Studio still makes product pins only, and there are no separate blog analytics yet.
To change the setting later, or to set up the blog itself first (see creating a blog on Shopify), return to Products, then Blog posts, and untick Make pins from blog posts or change the picks. For the rest of the app, see the PinFlow help pages.
Products page in PinFlow with the Blog posts tab open and the Blog pins card
Questions
How do I publish my Shopify blog posts to Pinterest? In PinFlow, open Products, then Blog posts, tick Make pins from blog posts, choose how many of your pins come from blog posts, pick the posts and click Save. Your next batch of pins includes blog pins, which link to the post on your store.
Blog pins card with Make pins from blog posts ticked and the Blog pins list set to 1 in 4
How often do blog pins appear? You choose: 1 in 5, 1 in 4 (the default), 1 in 3, 1 in 2 or All pins. Your daily number of pins stays the same, because blog pins take the place of some product pins.
Blog pins list showing the choices from 1 in 5 to All pins
Do blog pins post to Pinterest straight away? No. Turning them on posts nothing. They arrive with your next batch as Needs approval, and nothing is posted until you approve each pin.
Calendar with the Needs Approval tab and a blue Blog badge on a pin
Why was my blog post skipped? A post needs an image stored on Shopify. A post with no image shows No image, skipped in the list, and images hosted elsewhere, such as YouTube embeds, are not used.
Blog posts table with two posts marked No image, skipped
Where does a blog pin link to? To the blog post on your own store's domain, not to PinFlow. The link is in the Outbound URL field of the pin.
Pin Details window with the Outbound URL field showing a link to a blog post
Want your blog posts on Pinterest too?
PinFlow turns your Shopify products and blog posts into Pinterest pins and schedules them. Each pin waits for your approval before it posts.
Get PinFlow on the Shopify App StoreMore Shopify fixes
More community-sourced Shopify guides, tested on a live store.
SEO & Marketing
Shopify Bulk Redirects: Import Them From a CSV File
Add hundreds of Shopify URL redirects in one CSV upload, plus short /go/ links to outside sites without the leave-store message. Tested on a dev store.
SEO & Marketing
Shopify URL Structure: Why /pages/ and /collections/ Appear
Shopify puts /pages/, /collections/ and /products/ in every link, and you cannot turn that off. Here is what you can change - a short /support link, a tidy /collections page and shorter handles - tested on a Dawn store.
SEO & Marketing
Shopify Link in Bio: Show Your Domain, Land People on Products
You want your Instagram bio to read abc.com but send people straight to your products. A redirect will not do it, and /shop is a reserved path on Shopify. Here is the approach that works, and why the usual advice fails.